Авто риг в maya
Сложные анимации в мобильных играх: риггинг в Mаya с применением Mash Статьи редакции
Александр Антонов, риггер из студии Social Quantum(«Мегаполис», «Дикий запад: новые земли»), написал для DTF колонку, в которой подробно рассказал о процессе создания анимации для мобильной игры. В тексте разбирается конкретный пример с колоколами, однако методы, которые применяет автор, можно использовать и для решения других задач в Maya.
Всем привет, меня зовут Антонов Александр, и я — риггер в Social Quantum, мы создаём игры для мобильных девайсов и те, что сейчас у нас в разработке: сложные, с нарративом, графикой и анимацией высокого качества. В одном из проектов (кейс из него мы разберем далее) мы хотим добиться уровня анимационного сериала, а может даже полного метра на мобильной платформе.
Кто такой риггер? Если в серьёзных организациях (типа поликлиники) меня спрашивают, где и кем я работаю, то я с не менее серьёзным видом отвечаю: «Я риггер в Social Quantum». Далее следует мучительная для бедной медсестры диктовка по буквам. На вопрос, кто же такой риггер, обычно отвечаю: «Делаю игры». Но на самом деле, всё гораздо интереснее. Я занимаюсь разработкой ригов для персонажей, механизмов и различных эффектов. В общем, работаю над всем, что должно иметь кости и будет в дальнейшем сломано аниматорами.
Я расскажу о подходе, который помог мне разработать элемент для сцены появления «магического» портала, который сопровождается анимацией из нескольких групп колоколов. Каждый колокол при движении должен обладать своей скоростью и двигаться независимо, по своей траектории.
Должна быть возможность эту траекторию редактировать. Также требовалось автоматизировать эффект, чтобы сэкономить время на анимацию. Риг должен иметь прямые контролы к основным элементам, чтобы обладать гибкостью, так аниматоры смогут вносить акценты. У всех колоколов есть языки и они тоже должны двигаться. Пример рига этого элемента сцены с тестовой анимацией смотрите ниже.
Этот риг разработан с условием, что в дальнейшем анимация запекается на кости и передается в игровой движок. При разработке я использовал как стандартные методы риггинга, так и элементы для создания моушн-дизайна. Для того чтобы разобраться, как это работает, рассмотрим простой пример, в котором опишу этапы создания этого рига.
Базовые элементы рига готовы, перехожу к созданию второстепенной анимации, для этого использую модуль Mash. Этот инструмент в Maya появился относительно недавно, и сейчас его используют преимущественно для создания моушн эффектов или расстановки объектов на сцене, в ригах его используют редко, хотя потенциал у него для решения некоторых задач имеется.
Можно поэкспериментировать, комбинируя разные узлы и их настройки. Если что-то пойдёт не так, узел можно удалить из списка, кликнув по нему правой кнопкой мыши, и выбрать Delete. Также у каждого узла есть выключатель. Порядок узлов можно менять, для этого нужно захватить нужный узел левой клавишей мыши и перенести на другое место.
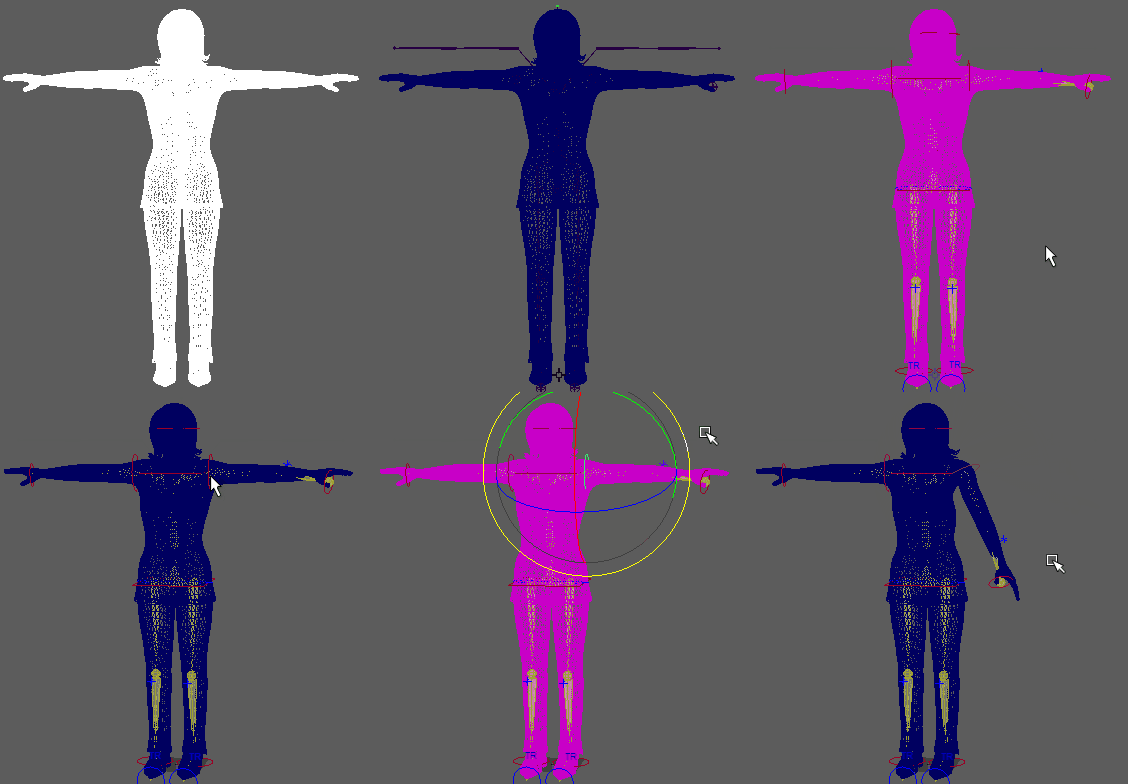
Create an automatic character rig for a mesh
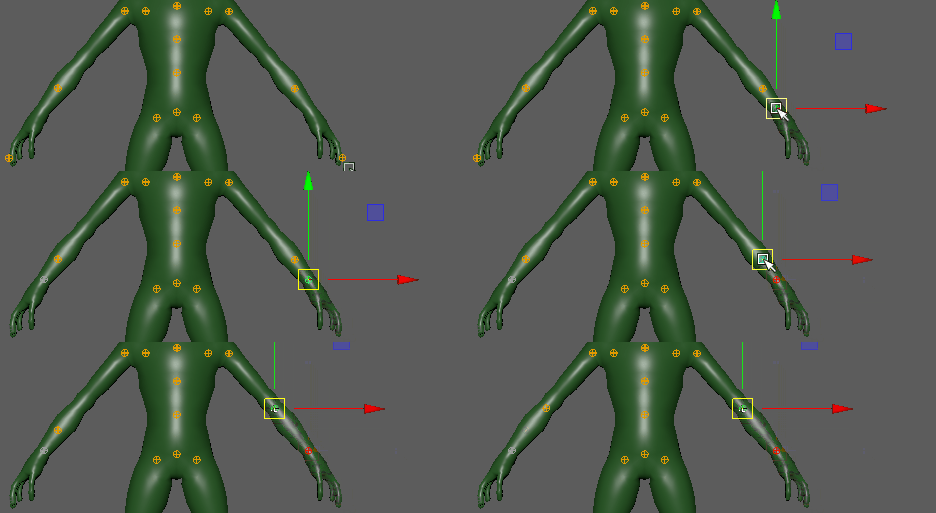
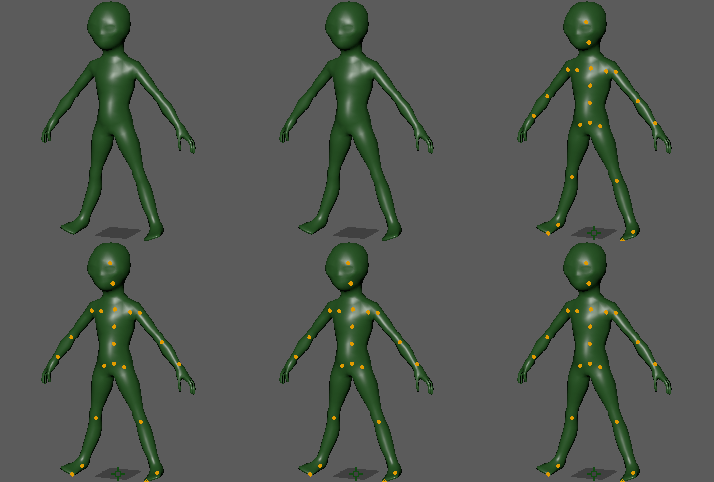
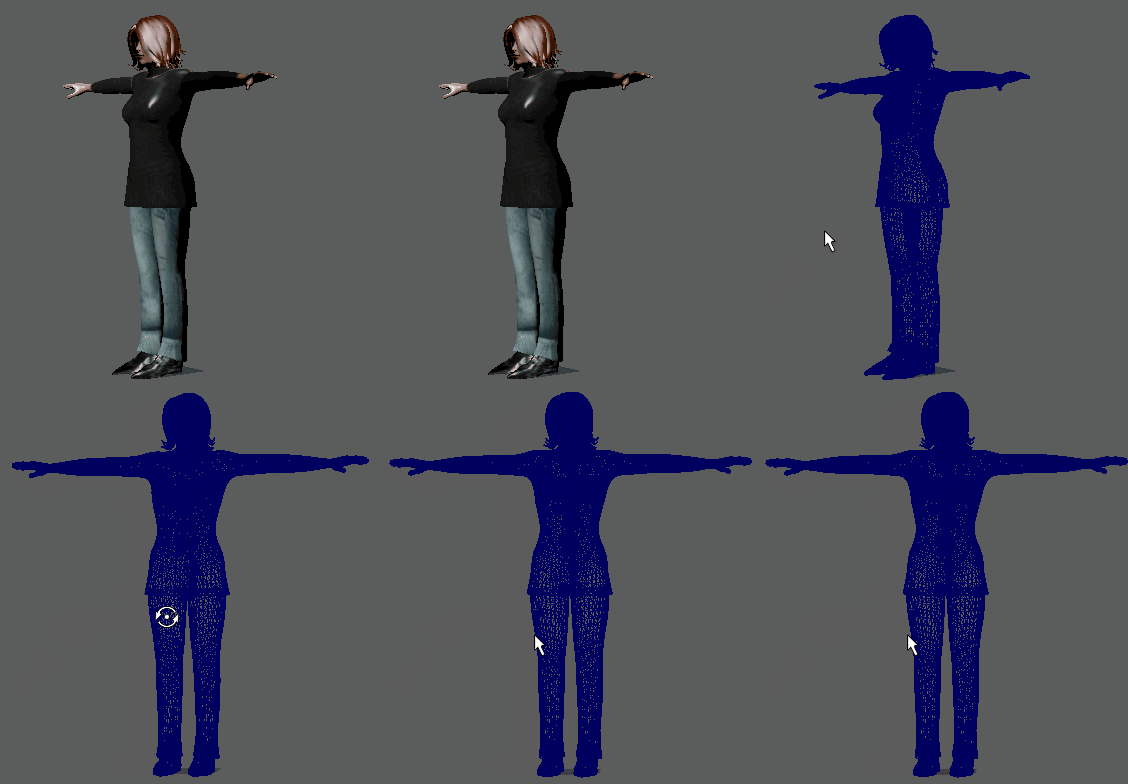
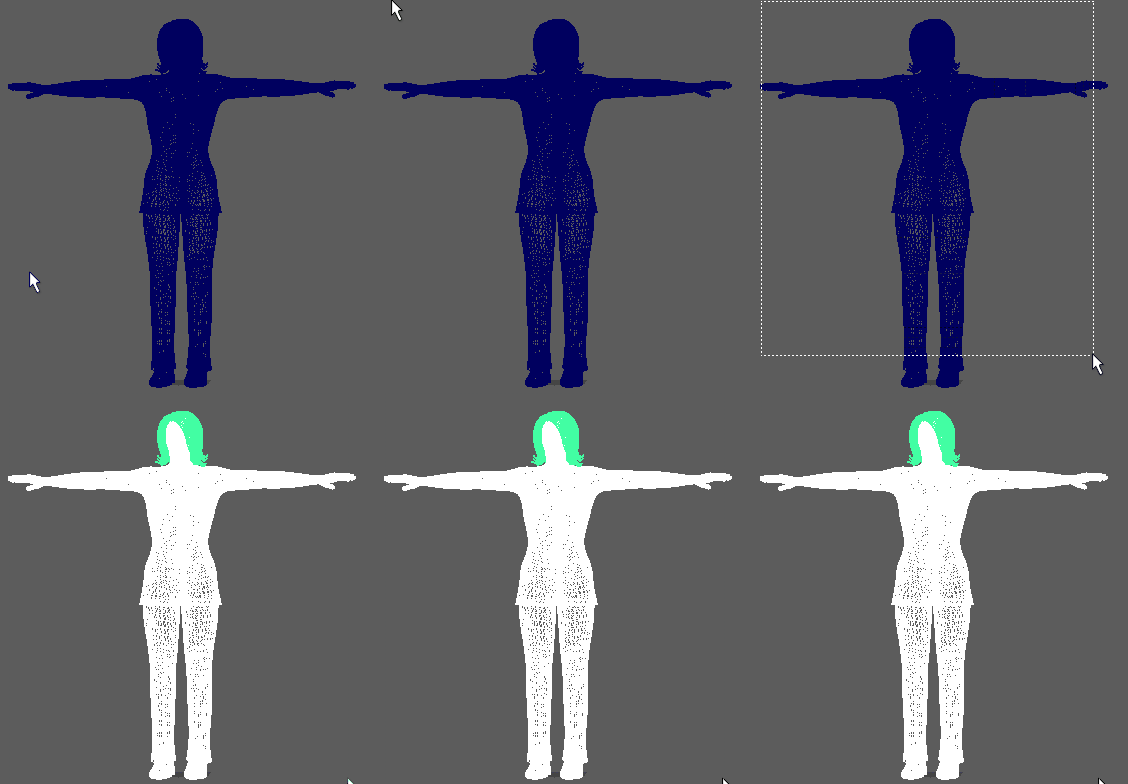
The Quick Rig tool is a quick way to create a character rig for a standard character mesh. There are two ways you can create a character rig with this tool, automatically, with the One-Click option, which is recommended for standard character meshes, or the Step-by-Step option, which gives you greater control over the automatic rig function. For a description of the Step-by-Step settings, see Quick Rig tool.
Creating an automatic character rig with the One-Click option
To automatically create a rig for a standard character mesh
Your mesh now is ready for animating.
Creating a character rig with the Step-by-Step method
Choose the Step-by-Step option to proceed through the same phases of the automatic rig generation in the Quick Rig steps above, but step-by-step. This method walks you through the process and lets you tweak some of the Quick Rig’s default settings, which gives you greater control over the automatic rig function.
For a description of the Step-by-Step settings, see Quick Rig tool
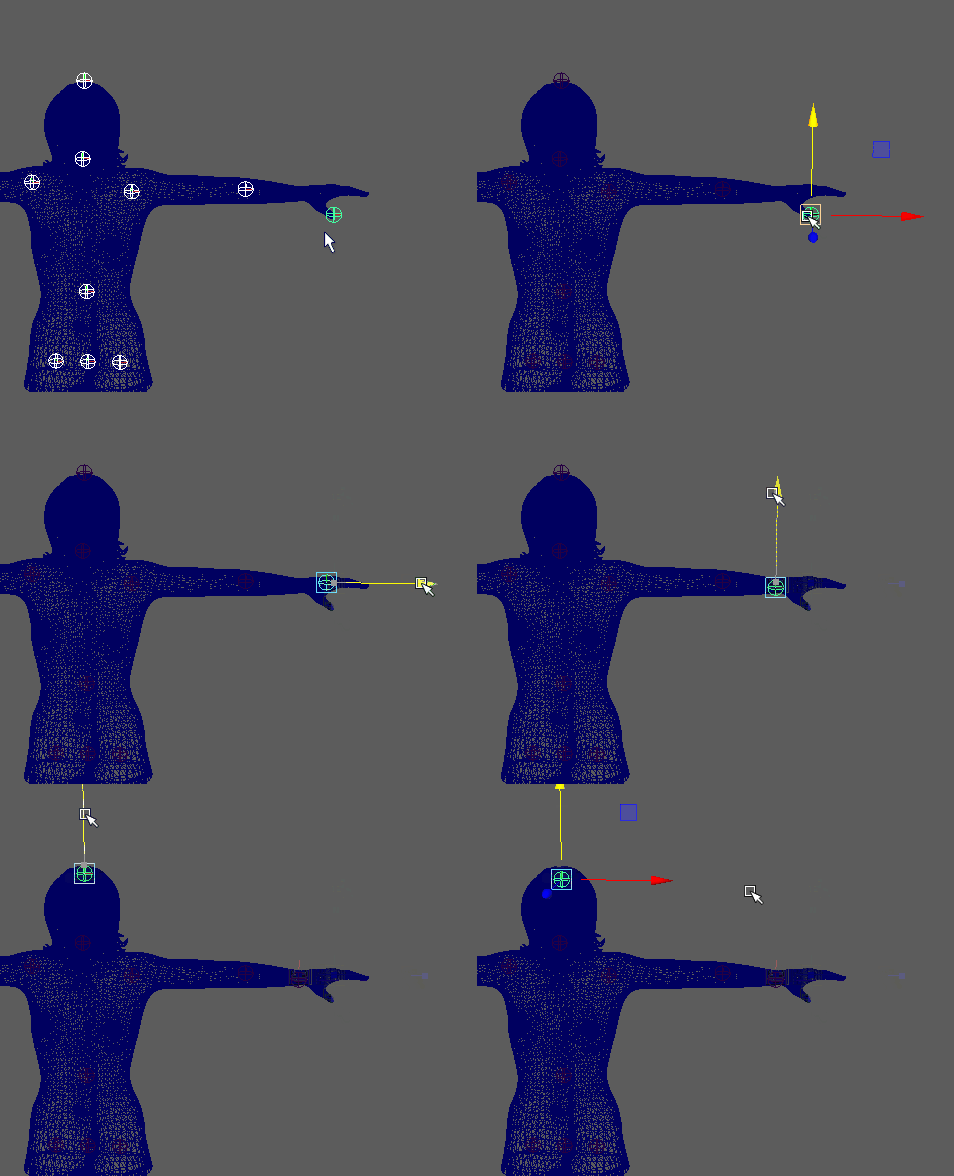
To use the Step by Step method in the Quick Rig tool to create a rig for a character mesh
Your mesh now has a character rig and is ready for animating. See Quick Rig tool for a description of these settings.
For information on animating your control rig, see Control rigs, effectors, and pivots.
Quick Rig tool
The Quick Rig tool lets you quickly add a rig to a biped character mesh. You can use this tool two ways: using the automatic function or a step-by-step workflow. While the automatic One-Click option is good for standard character meshes, the Step-by-Step option gives you more control over the automated rigging process.
See Create an automatic character rig for a mesh for an explanation of how to use the automated rigging process.
Character menu Use the drop-down menu to select a character. A Quick Rig character is a HumanIK character that has extra metadata for the rigging data. Refresh Character List 


One-Click
Click One-Click to use an automatic option to rig your character mesh. This procedure works best if your Character Mesh is a biped, with a Y-up orientation and facing the positive Z direction.
Step-By-Step
If your character fits this description, use the Hips option to create symmetry based on the current hip position.
Select Bounding Box to set the bounding box center as a reference for guides that map to center joints (hips, spine, and neck,) which are centered or map to symmetrical joints (shoulders, arms and legs). The center/mirror plane is the YZ plan that passes through the center of the mesh(es) bounding box. It is recommended to leave this option turned on unless your character is intended to be unequally proportioned. Select No Symmetry if do not want guides symmetry to be enforced during guides embedding. You will still be able to manually use mirroring tools (See User Adjustment of Guides) using the hips on the character. Center Lets you set how many guides are created, and therefore how many joints the resulting skeleton and rig will hold. The default HumanIK skeleton has 3 spine nodes, and one neck and shoulder/clavicle each. Hips Translation Let you generate a Hips Translation joint for your skeleton.
You can split the translation and rotation of your character’s pelvis between two different joints by specifying a HipsTranslation joint in addition to the Hips joint. By default, the HipsTranslation joint will control the translation of your character’s hips and the Hips joint will control the rotation of your character’s hips.
Create/Update Click Create/Update to add guides to your character mesh. Delete Guides 

The Mirror Right to Left tool works in the opposite way.
| Mirrored Behavior | This option assigns symmetrical behavior for the Z and X joint rotation axes. In order to create symmetrical behavior, Mirrored Behavior orients the joints X-axis towards the child on one side, and towards the opposite direction of the child on the other. |
This is the default setting.
This means you will not get symmetrical behavior if you animate the X-axis rotation for the arms or legs.
Create an automatic character rig for a mesh
The Quick Rig tool is a quick way to create a character rig for a standard character mesh. There are two ways you can create a character rig with this tool, automatically, with the One-Click option, which is recommended for standard character meshes, or the Step-by-Step option, which gives you greater control over the automatic rig function. For a description of the Step-by-Step settings, see Quick Rig tool.
Creating an automatic character rig with the One-Click option
To automatically create a rig for a standard character mesh
Your mesh now is ready for animating.
Creating a character rig with the Step-by-Step method
Choose the Step-by-Step option to proceed through the same phases of the automatic rig generation in the Quick Rig steps above, but step-by-step. This method walks you through the process and lets you tweak some of the Quick Rig’s default settings, which gives you greater control over the automatic rig function.
For a description of the Step-by-Step settings, see Quick Rig tool
To use the Step by Step method in the Quick Rig tool to create a rig for a character mesh
Your mesh now has a character rig and is ready for animating. See Quick Rig tool for a description of these settings.
For information on animating your control rig, see Control rigs, effectors, and pivots.
Tutorial: Maya Auto-Control Rig Script
Mixamo’s Maya Auto-Control Rig Script is a Python script that works with current versions of Maya to make it easier than ever to start hand-animating or customizing Mixamo animations on any Auto-Rigged character. Download for free at: https://www.mixamo.com/scripts
This tutorial walks you through the new features of version 1.6.0 of the script. Now the script automatically generates a facial control rig for Fuse characters (or rather, any character compatible with Face Plus). The animation import is now simpler and new import and export batching features make integrating customized animation into any pipeline a breeze. Improved Utilities allow for more customization of your rig.
If you get an error saying there is No Module then the script hasn’t been installed correctly. There are two possible causes:
2. The standard directory install location isn’t right for your Maya (custom Maya install most likely). You can find what paths Maya is currently looking for modules by running this short script in the Maya Python editor – make sure to “tab” indent the print path line.
import sys
for path in sys.path:
(tab)print path
This script will return a list of directories – place the “MayaAutoControlRig” folder at one of those locations!
Mixamo saves countless hours of work for creatives working in 3D. Create, rig and animate production-quality 3D models with Mixamo’s online software and asset collections. The end-to-end solution takes minutes, not days – accelerating 3D projects to new levels of creativity.
Mixamo assets are royalty-free, can be downloaded for full customization and work in your 3D pipeline of choice.


